I have been playing around a dark theme for my blog.

I really like the colors but it’s not as readable as the light mode yet 🤷♀️
Let’s keep colors and contrast aside, I want to talk about the implementation details in this post.
Let’s start simple, a blog has a few key style elements: The background, the text, a heading and links (amongst money others).
Here’s the default light version:
Let’s write the CSS for it:
body {
  background: ghostwhite;
  color: black;
}
h1 {
  color: darkred;
}
a {
  color: darkblue;
}
Did you there are hundreds of named colors in CSS? With cool names like ForestGreen, Firebrick and Chocolate.
Okay, now to create a dark mode for this, we will have to overwrite the styles spread across different selectors. Let’s say we attach the theme class on the html tag.
.dark-theme body {
  background: black;
  color: white;
}
.dark-theme h1 {
  color: pink;
}
.dark-theme a {
  color: deepskyblue;
}
Here’s what that looks like:
Not bad right?
Now, practically speaking, you probably have more than 4 elements in your page and the styles for them are spread across different files.
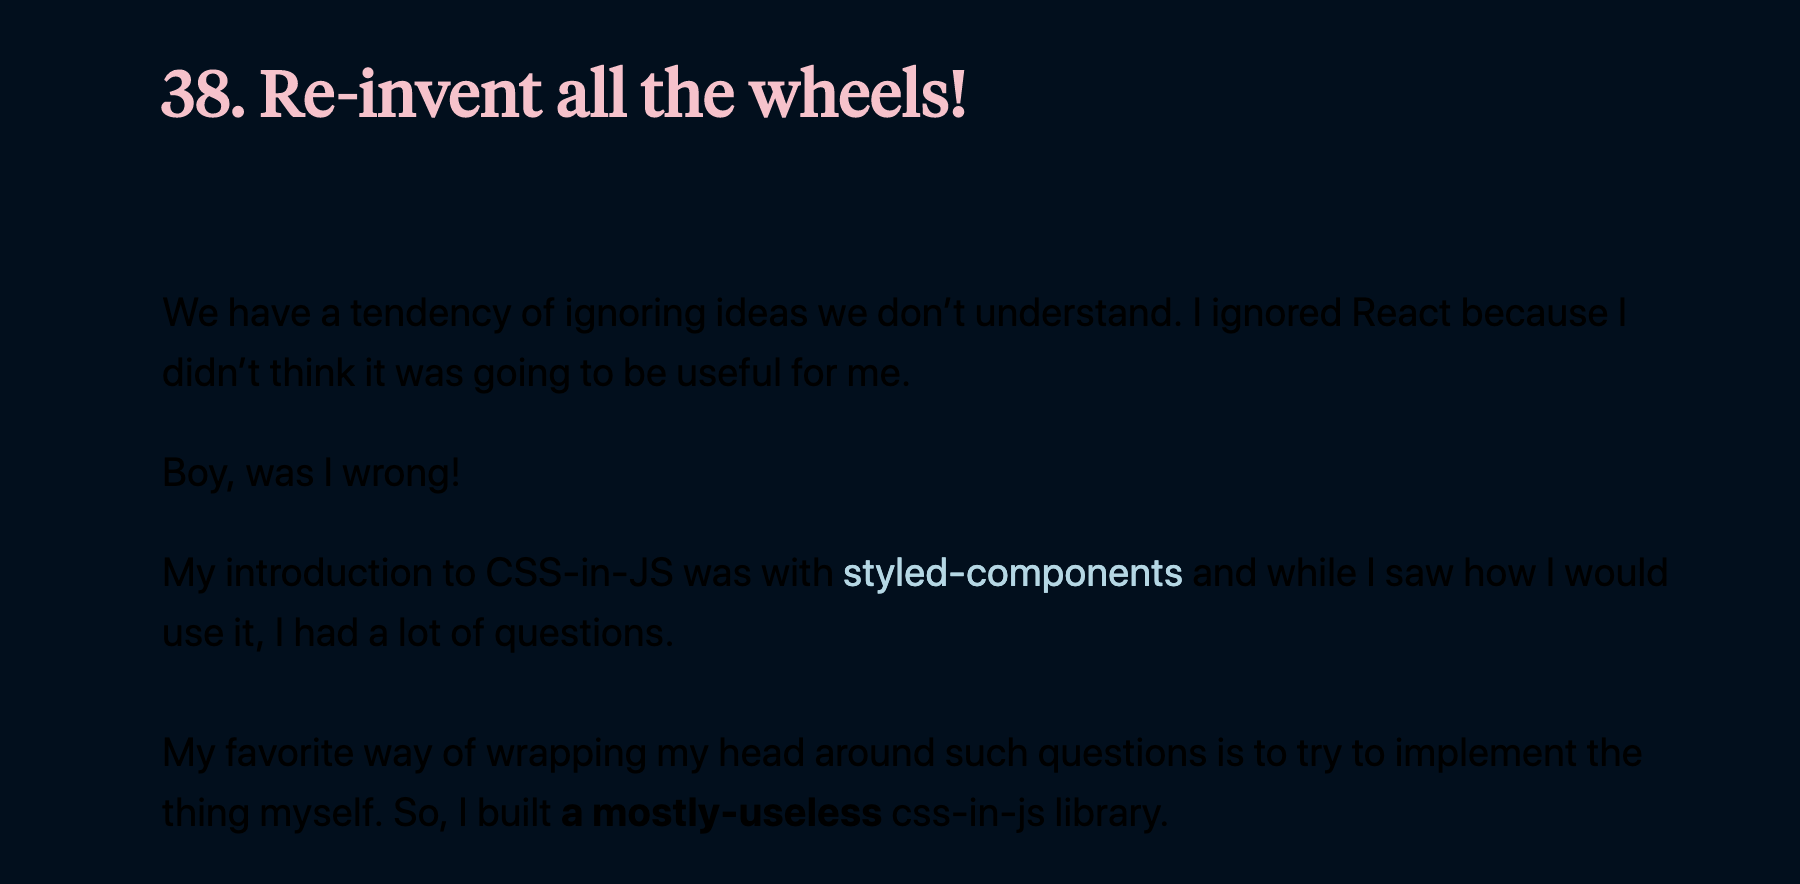
It can be challenging to track the changes down and make sure you didn’t miss any element. And nothing’s worse than the wrong styles in the wrong theme:
So, instead of spreading theme styles all across, we should keep them in one place. That’s a clean code guideline that I really like:
Things that change together, live together.
Okay enough build up, let’s get to it.
CSS Variables
CSS variables are the way to maintain values at one place without any preprocessing (sass/less).
Syntax
The syntax is
body {
  --key: value;

  color: var(--key);
}
Cascading rules apply, so you can set variables in the parent element and use it in the child.
nav {
  --link-color: deepskyblue;
}
nav a {
  color: var(--link-color);
}
There’s even a way to set global variables.
:root {
  --background-color: white;
}
Before we move ahead, let’s talk browser support. As long as you don’t have to support IE11, you’re good to go.
Side note: I’m sorry if you have to support IE11. Have a look at your usage numbers and drop support if you can! You’re missing out on a bunch of new features that reduce flexibility like variables, flexbox, grid, etc.
Let’s apply this to our blog.
What I like to do is declare all the colors along with their purpose as global variables first. This makes sure I don’t miss any combinations.
:root {
  --light-background: ghostwhite;
  --dark-background: black;

  --light-text: white;
  --dark-text: black;

  --dark-heading-color: pink;
  --light-heading-color: darkred;

  --dark-link-color: darkblue;
  --light-link-color: lightblue;
}
Next up, define your themes.
Notice how we are using variables from the global color palette and exposing them with their purpose.
.light-theme {
  --background: var(--light-background);
  --text-color: var(--dark-text);
  --heading-color: var(--dark-heading-color);
}

.dark-theme {
  --background: var(--dark-background);
  --text-color: var(--light-text);
  --heading-color: var(--light-heading-color);
}
Now, my favorite and easiest part: Write element styles using the theme variables.
body {
  background: var(--background-color);
  color: var(--text-color);
}
h1 {
  color: var(--heading-color);
}
a {
  color: var(--link-color);
}
Notice how the elements themselves are unaware that themes even exist. This lets us change styles (and add more themes) without touching the elements.
If you have been using a extended styles language like sass or less, you’re probably thinking
“I’ve had variables since I was 5, what’s the big deal?”
The big deal is:
- You don’t need a preprocessing step any more, which is a tiny win.
- More importantly, you can change these properties in runtime!
You have access to these variables in the javascript layer of the application and you change them during runtime!
document.body.style.setProperty(
  '--light-background',
  'pink'
)
Go ahead, try it out:
You can trigger changes to the variables on the user’s request.
There are multiple use cases for this, the obvious ones are changing the theme and letting the user increase/decrease font-size.
It also opens up a new set of interactions that aren’t possible with just CSS, like reacting to DOM events.
function chaseMouse() {
  let root = document.documentElement

  document.body.addEventListener('mousemove', event => {
    const { clientX, clientY } = event
    root.style.setProperty('--mouse-x', clientX + 'px')
    root.style.setProperty('--mouse-y', clientY + 'px')
  })
}
Try it! Click this button and then move your mouse. (desktop only)
--mouse-x: null --mouse-y: null. Click the button again to detach.
Bonus: If you’re using an editor like Atom or VSCode, you’ll start seeing them while you write code!
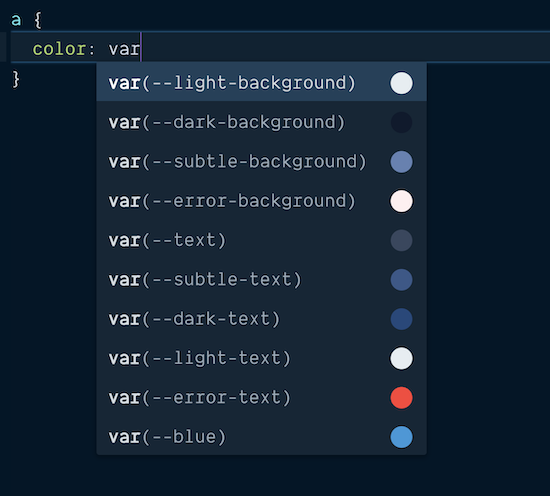
And in the devtools of your browser!

I love it when your tools help you make the right choice!
Hope that was helpful on your journey
Sid